Applies to: C1, C1 Pro, C2, C2 Pro
If you failed to connect your camera in LAN (when your phone/computer is connected to the same network as the camera), here are some possible causes for your reference.
Cause 1: The Camera isn’t Powered on
Please check what’s the status of the power light on the front of the camera. If it’s not solid blue, please use another DC 5V/2A power adapter to have a try.
Please refer to LED Introduction for Reolink C Series Cameras for information about the status LED of the camera.
Cause 2: The Camera Drops from WiFi
Please check what’s the status of the camera network light on the front of the camera. If it’s blinking in red, it means that the camera is disconnected from WiFi. Please use a network cable to connect the camera to the router port directly, then reconfigure the camera to connect to WiFi. Please make sure the wifi settings are saved before you unplug the camera from your router. Set up WiFi Settings for WiFi Cameras
Note: When the camera is connected to network properly, the network light will be off.
Cause 3: Weak WiFi Signal Reception
If the network light on the front of the camera stays off, it means that the camera is connected to WiFi. Here are some tips for your reference:
- Try to connect the camera in Fluent mode: Change Live Stream Mode on Reolink App/How Change Live Stream Mode on Reolink Client (New Client)
- Reboot both the camera and your router
- Move the camera closer to the router
- Check whether the WiFi antennas are fixed firmly on the camera
- Change a WiFi Channel and test with the 5GHz WiFi
- Disconnect some other devices from the WiFi
Cause 4: Some Settings Blocked Reolink Client/App to connect the camera
If the camera’s power light is solid blue and the network light stays off, please confirm that the VPN is not running on your phone/pc (if your camera and pc/phone are not connected on the same VPN). And please also check the firewall and antivirus software settings.
- Please refer to How to Allow Reolink Client Pass Through the Firewall on your PC to configure the firewall settings on your pc. As for the phone, most of the phones don’t have the firewall settings, If you have enabled the firewall on your phone, please allow Reolink App to pass through it.
- Please turn off the antivirus software if it’s running on your phone/PC.
Здравствуйте друзья. Продолжаю цикл обзоров камер Reolink. Сегодняшний гость обзора, внутренняя камера с PTZ — Reolink C1Pro.
Другие обзоры можно посмотреть здесь и здесь и тут.
Начнем пожалуй с технических характеристик, чтобы понимать о чем идет речь.
Аппаратные возможности
Сенсор:1/3″ CMOS Sensor
Разрешение: 2560 x 1440 (4.0 Megapixels)
Объектив: f=4.0mm Fixed, F=2.0, with IR-Cut
Угол обзора: Horizontal: 80° Vertical: 42°
Угол поворота: Horizontal: 355° Vertical: 105°
Минимальная освещенность: 0 Lux (with IR Illuminator)
Дистанция подсветки: 12 м
Питание: 5.0V/2A, <6W
Разъемы:10M/100Mbps RJ45, microUSB, microSD слот
Беспроводная сеть: IEEE 802.11a/b/g/n (2.4GHz / 5GHz)
Встроенный микрофон и динамик
Программное обеспечение
Protocols & Standards HTTPS, SSL, TCP/IP, UDP, UPNP, RTSP, SMTP, NTP, DHCP, DNS, DDNS, FTP, ONVIF, P2P
Image Compression H.264
Maximal Frame Rate PAL: 25fps, NTSC: 30fps
Code rate 1024Kbps ~ 8192Kbps
Audio Two-way Audio
Maximal User Access 20 Users
Browser Supported IE, Edge, Chrome, Firefox, Safari
OS Supported PC: Windows; Mac OS; Smart Phone: iOS, Android
Record Mode Motion Record/Schedule Record (default: Motion Record)
Wireless Security WPA-PSK/WPA2-PSK
Дополнительные параметры
Рабочие температуры: -10℃~+55℃
Влагозащита отсутствует
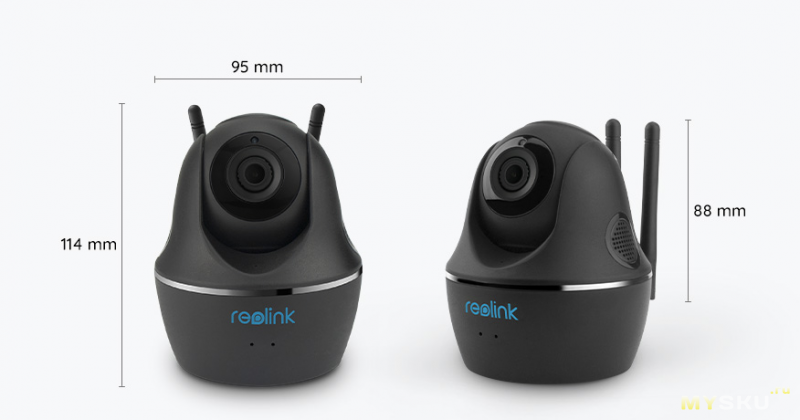
Размеры 103 × 95 × 117mm
Вес 300g
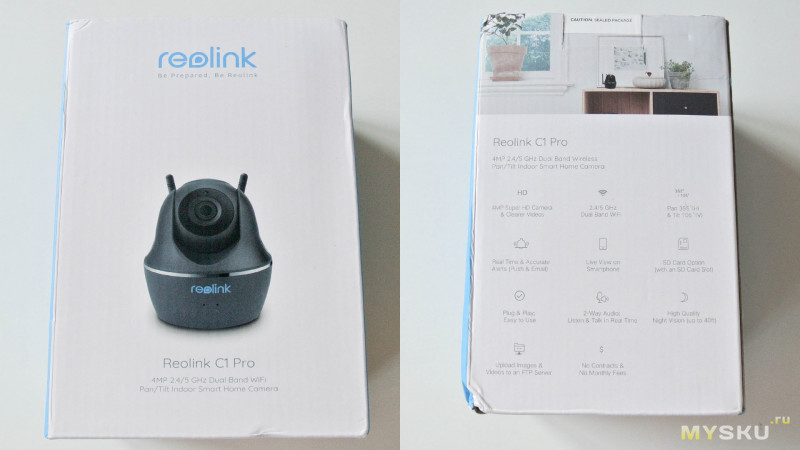
Раньше камера приходила в серой картонной коробке с названием камеры, теперь коробка выполнена в фирменном бело-синем стиле с цветной полиграфией. На лицевой стороне у нас изображена камера, на обратной ее технические характеристики. На остальных гранях коробки менее интересная информация, ссылки на сайт и прочее.
Коробка достаточно большая, и полностью заполнена аксессуарами и камерой.

Что у нас в коробке:
Reolink C1 Pro Camera
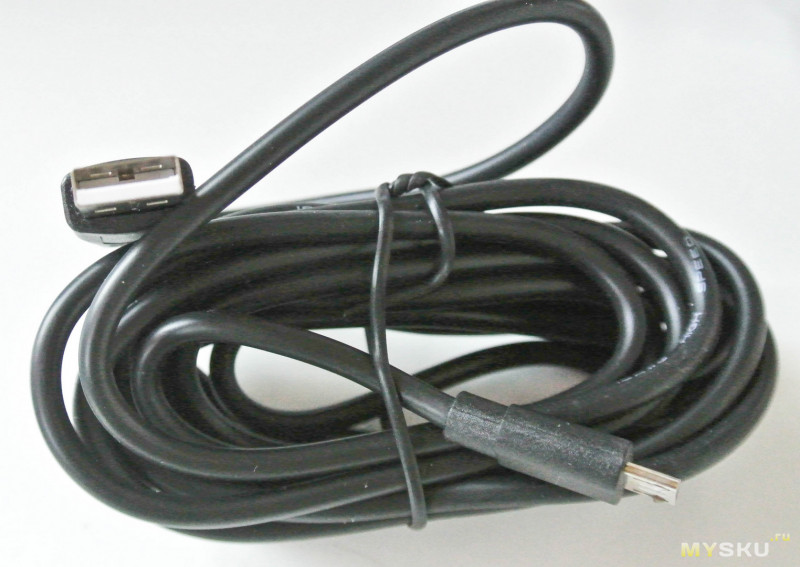
DC 5V адаптер питания
Mini USB кабель (2 метра)
Ethernet кабель (1 метр)
Настенное крепление
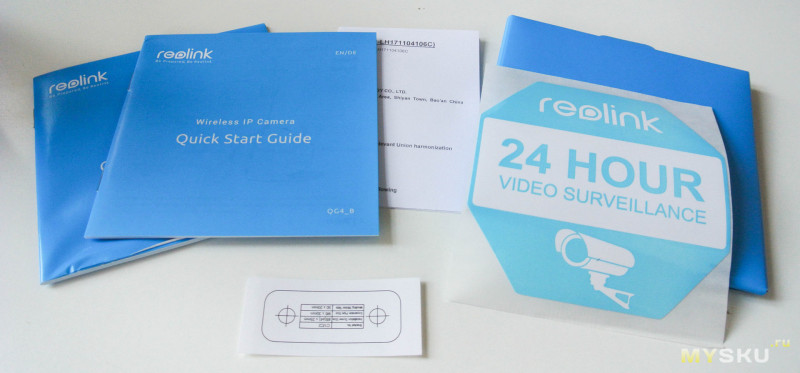
Quick Start мануал
Шаблон для сверления
Наклейка “Ведется видеонаблюдение”
Шурупы для крепления


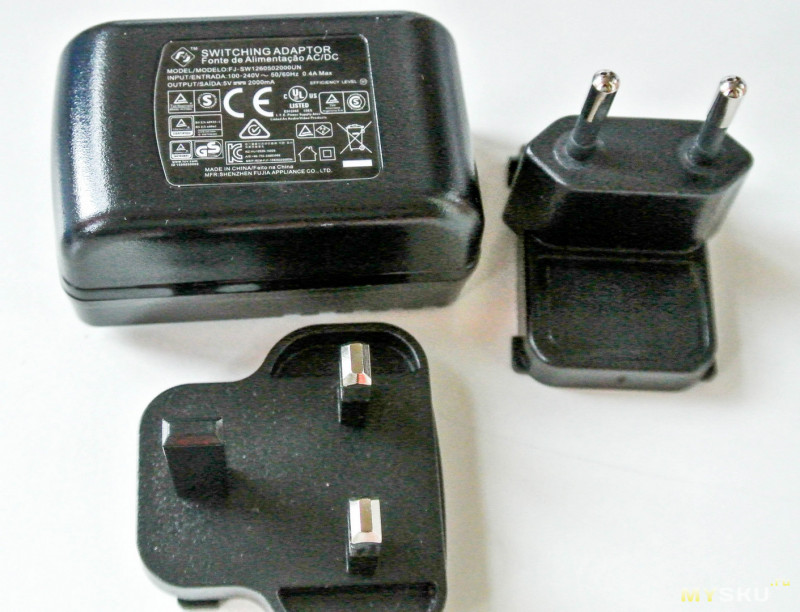
Блок питания со сменными насадками, но в этот раз на 5В/2А. Кабель питания не закреплен, а подключается через USB разъем, что позволяет использовать сторонние кабели без переделки блока питания. Вполне нормально камера работает и от повербанка, если он способен отдать до 1.5А.
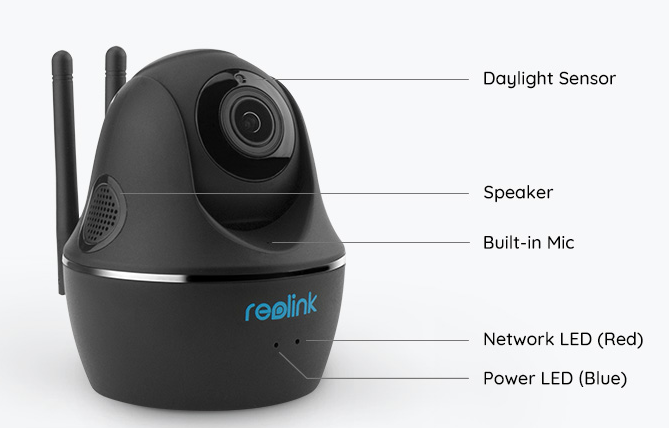
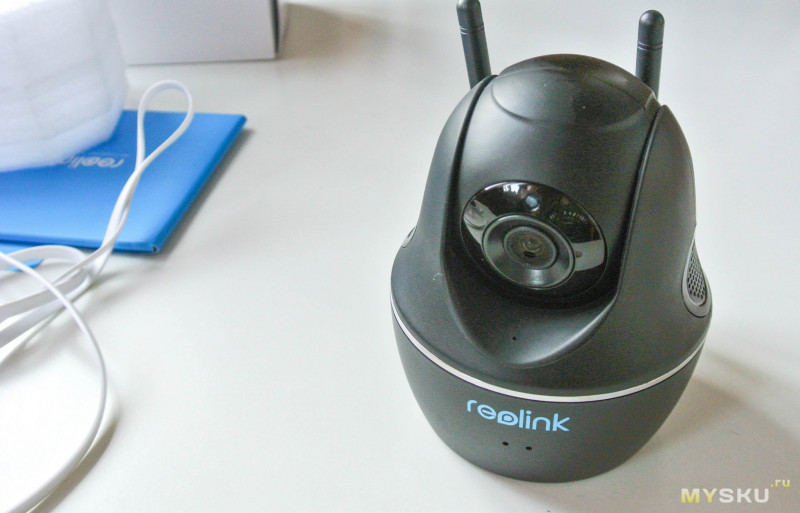
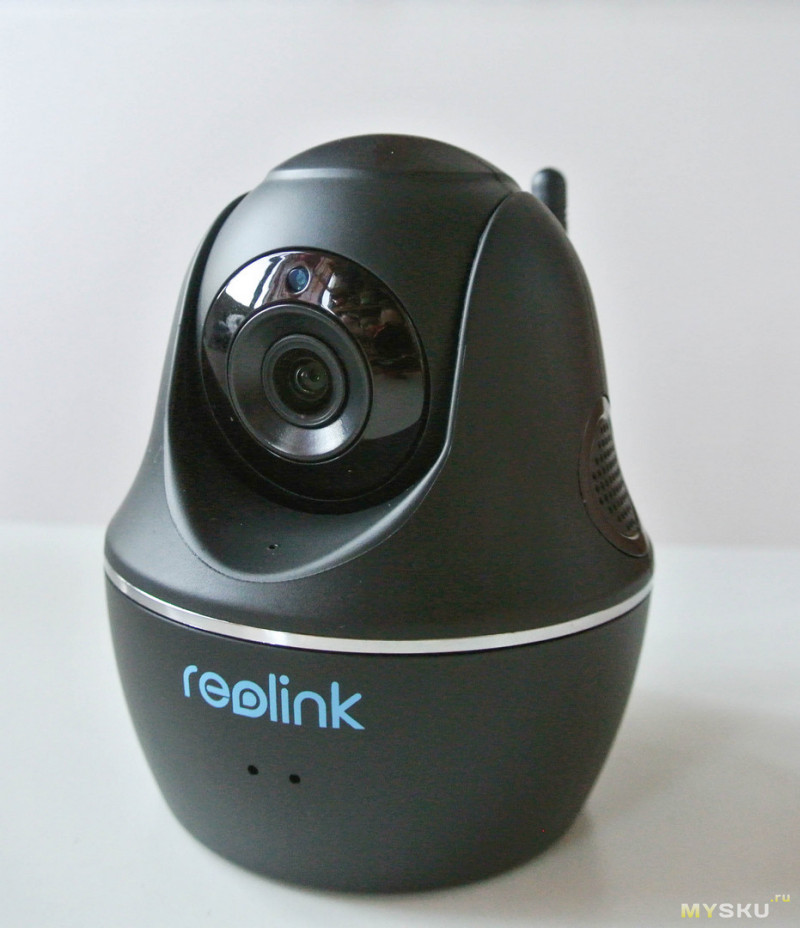
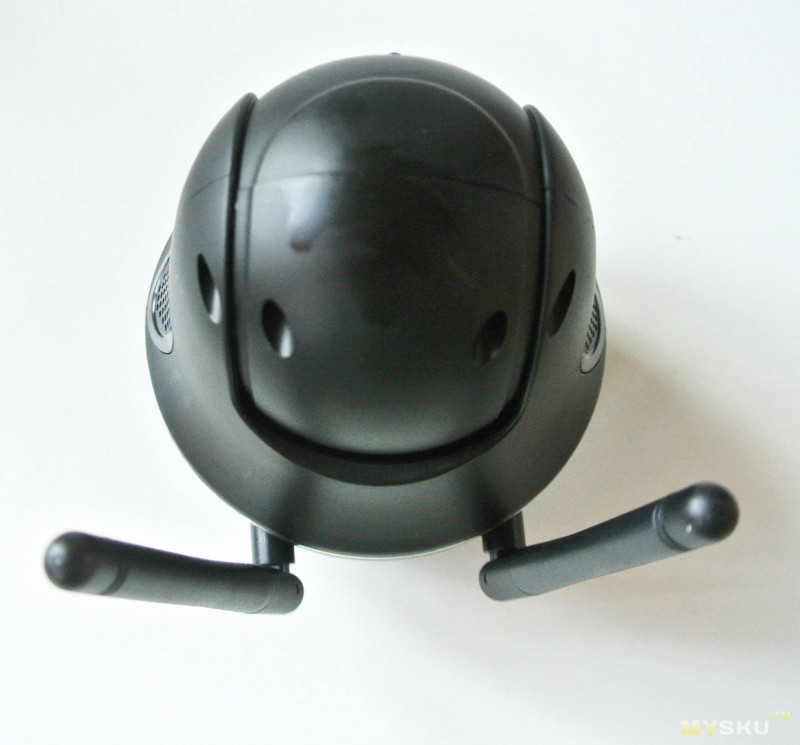
Reolink C1Pro доступна в 2х цветовых исполнениях, в черном и белом, я выбрал черный вариант. Состоит как бы из трех частей: база, корпус камеры и блок с объективом. Хромированный ободок придает камере более интересный вид.
На передней части базы расположен логотип и два светодиодных индикатора. Один сигнализирует о питании устройства, второй о сетевой активности. Чуть выше в основании корпуса камеры находится отверстие микрофона. Выше располагается блок с объективом, также видим датчик освещенности, светодиоды ИК подсветки скрыты за накладкой из пластика.
На обеих сторонах корпуса камеры расположены динамики для двусторонней связи и срабатывания сирены. На одной из сторон базы есть небольшое отверстие для сброса камеры, скрепка для этого также есть в комплекте. Корпус камеры может вращаться на базе на 355 градусов, вокруг своей оси. Часть с объективом может ходить на 42 градуса вверх и вниз.
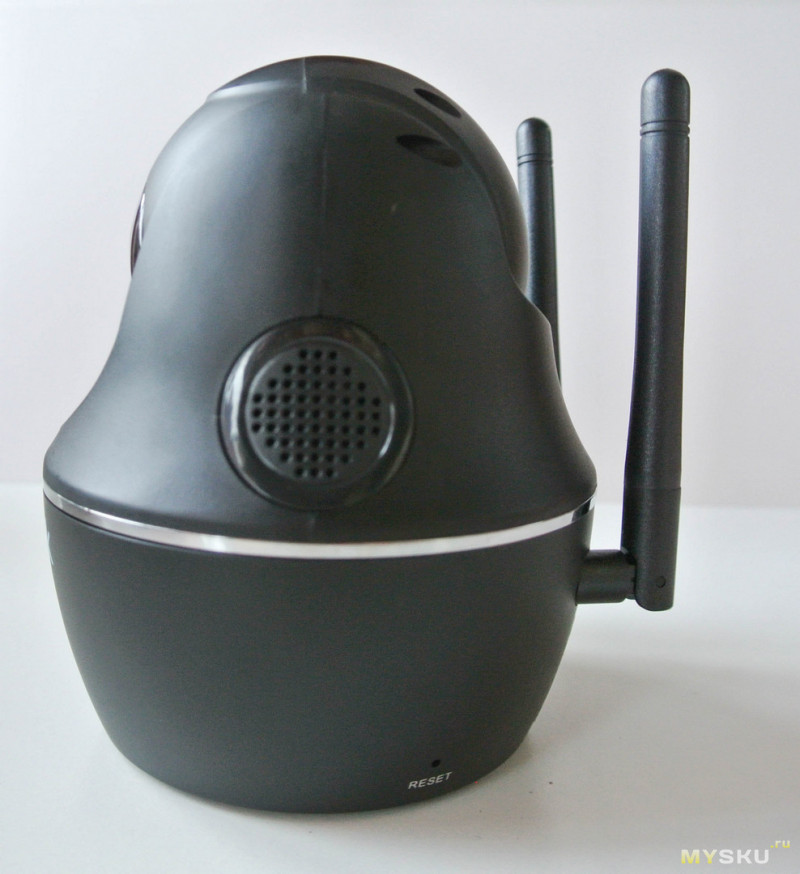
На задней части базы расположены разъем RG45 для подключения к локальной сети и настройке камеры, слот для microSD карточки и microUSB разъем для питания камеры. Чуть выше интерфейсных разъемов расположились две несъемные антенны wifi. Антенны хоть и несъемные, но могут наклоняться для лучшей ориентации и более сильного сигнала.

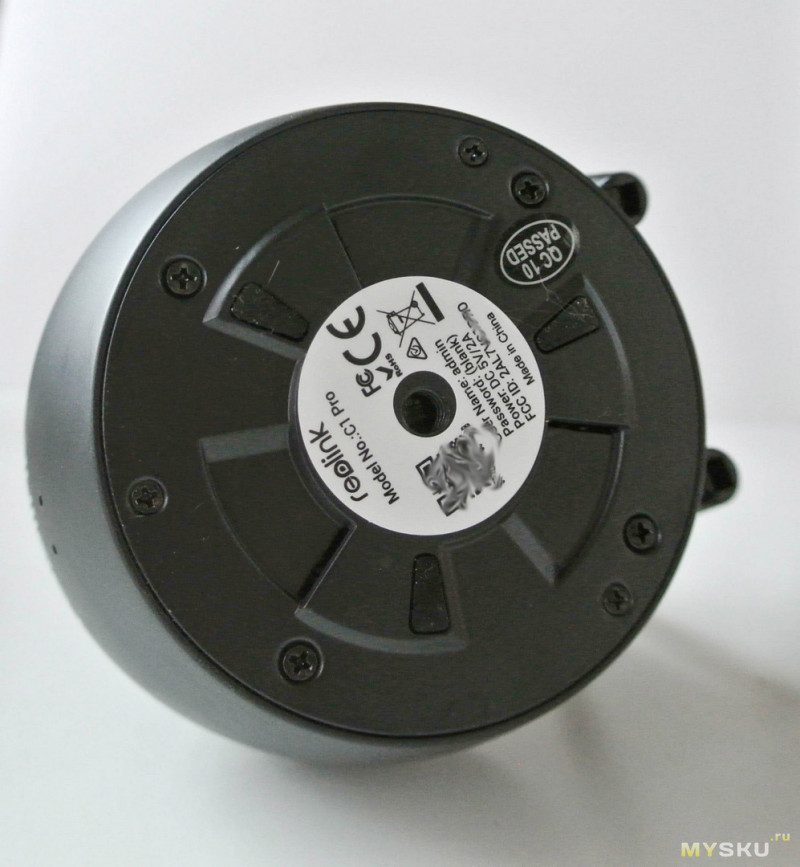
Сверху у нас ничего интересного нету, снизу на основании расположились резиновые ножки, наклейка с QR кодом для подключения и отверстие с резьбой для установки на кронштейн.
Размеры устройства.
Как я говорил ранее в своих обзорах, камеры Reolink очень дружелюбны к пользователю в плане подключения. Но если вы впервые купили такую камеру, в комплекте есть хороший мануал с картинками, правда он на английском языке, но с картинками и не вызывает сложностей в освоении.
Для первой инициализации камеру, в отличие от Reolink Argus, необходимо подключить по кабелю к роутеру или просто в локальную сеть. После этого все остальные настройки можно производить через wifi подключение.
После инициализации устройства, камера автоматически находится мобильным приложение или приложением для компьютера.
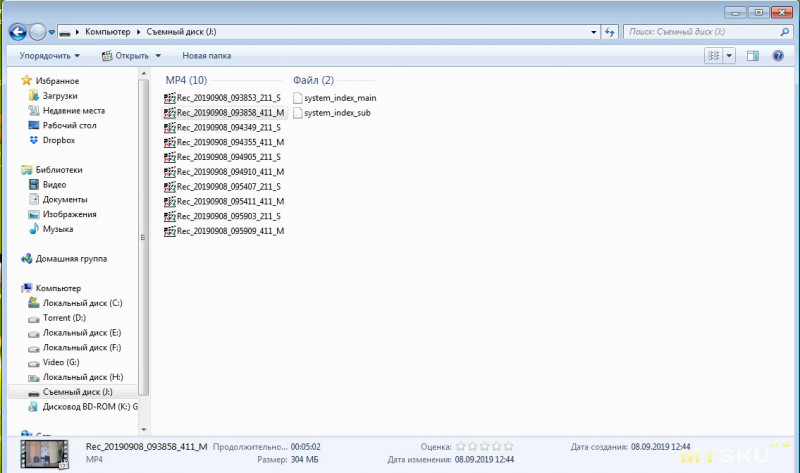
По умолчанию, камера начинает писать 24/7 на карту памяти, и если вам это не надо вы можете переключить из режима ‘Motion’ в режим ‘None’ и отметить когда не вести запись по движению. Карточку для нормальной работы лучше форматировать средствами самой камеры. При непрерывной записи камера пишет фрагментами по 5 минут, ролик весит в среднем 300mb.
Для тех кто впервые читает о камерах Reolink, скрины приложения на компьютере и в мобильном приложении.Из нового тут добавился режим управления поворотным механизмом камеры.
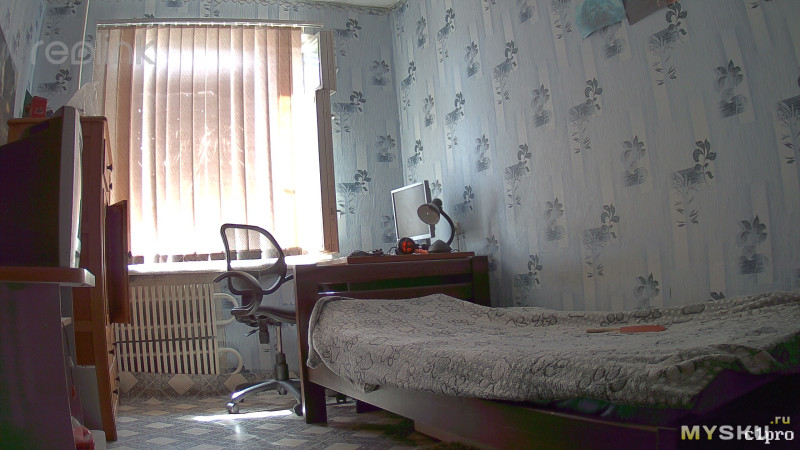
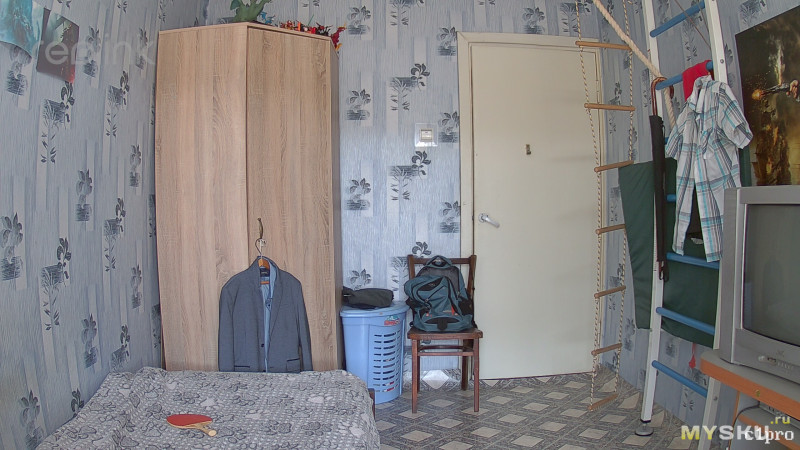
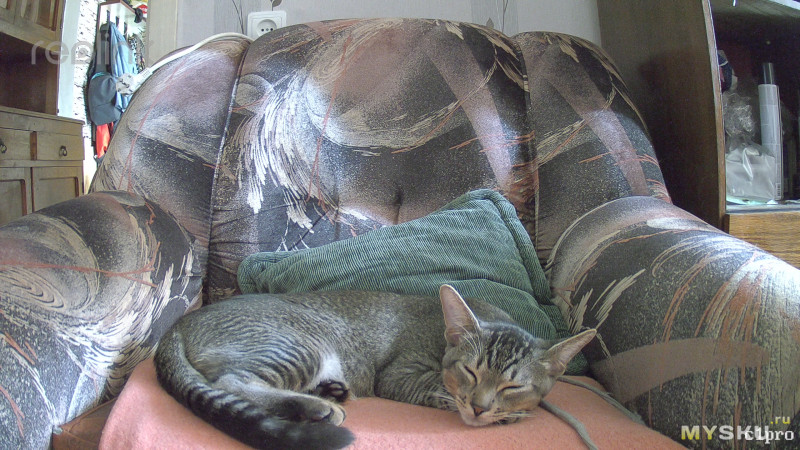
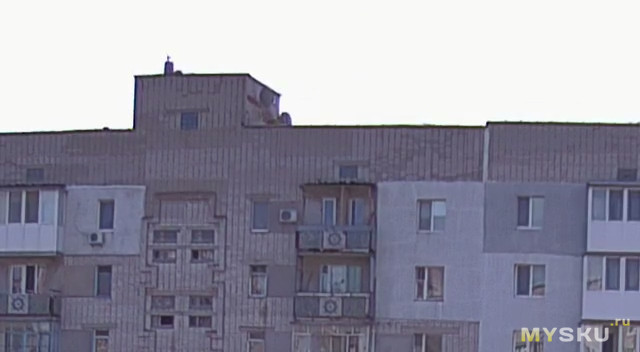
Перейдем к фото и видео материалу. Как видно из видео и фотографий, объектив камеры не приспособлен для съемки на большом расстоянии, дальний план становится размыт, но в пределах квартиры или помещения его вполне хватает.
Так же как и в уличных камерах, здесь также есть различные улучшаторы картинки, типа компенсации обратной засветки, расширенный динамический диапазон и они в некоторых условиях реально работают.

кроп
В этом видеоролике, небольшой пример съемки на улице и в помещении с различным освещением.
Свойства основного потока.
Дневное видео
General
Complete name: H:recordc1Rec_20190908_093858_411_M.mp4
Format: MPEG-4
Format profile: Base Media / Version 2
Codec ID: mp42 (mp41/iso2/avc1/dash)
File size: 305 MiB
Duration: 5 min 2 s
Overall bit rate: 8 464 kb/s
Encoded date: UTC 2019-09-08 09:44:01
Tagged date: UTC 2019-09-08 09:44:01
Video
ID: 1
Format: AVC
Format/Info: Advanced Video Codec
Format profile: High@L5.1
Format settings, CABAC: Yes
Format settings, RefFrames: 1 frame
Codec ID: avc1
Codec ID/Info: Advanced Video Coding
Duration: 5 min 2 s
Source duration: 5 min 2 s
Bit rate: 8 391 kb/s
Width: 2 560 pixels
Height: 1 440 pixels
Display aspect ratio: 16:9
Frame rate mode: Variable
Frame rate: 30.000 FPS
Minimum frame rate: 29.412 FPS
Maximum frame rate: 40.000 FPS
Color space: YUV
Chroma subsampling: 4:2:0
Bit depth: 8 bits
Scan type: Progressive
Bits/(Pixel*Frame): 0.076
Stream size: 302 MiB (99%)
Source stream size: 302 MiB (99%)
Language: English
mdhd_Duration: 302077
Audio
ID: 2
Format: AAC
Format/Info: Advanced Audio Codec
Format profile: LC
Codec ID: 40
Duration: 5 min 2 s
Source duration: 5 min 2 s
Bit rate mode: Constant
Bit rate: 64.0 kb/s
Nominal bit rate: 127 kb/s
Channel(s): 1 channel
Channel positions: Front: C
Sampling rate: 16.0 kHz
Frame rate: 15.625 FPS (1024 SPF)
Compression mode: Lossy
Stream size: 2.30 MiB (1%)
Source stream size: 2.31 MiB (1%)
Language: English
mdhd_Duration: 302077
Ночное видео
General
Complete name: H:recordc1Rec_20190908_164042_411_M.mp4
Format: MPEG-4
Format profile: Base Media / Version 2
Codec ID: mp42 (mp41/iso2/avc1/dash)
File size: 146 MiB
Duration: 2 min 56 s
Overall bit rate: 6 912 kb/s
Encoded date: UTC 2019-09-08 16:43:40
Tagged date: UTC 2019-09-08 16:43:40
Video
ID: 1
Format: AVC
Format/Info: Advanced Video Codec
Format profile: High@L5.1
Format settings, CABAC: Yes
Format settings, RefFrames: 1 frame
Format settings, GOP: M=1, N=24
Codec ID: avc1
Codec ID/Info: Advanced Video Coding
Duration: 2 min 56 s
Source duration: 2 min 56 s
Bit rate: 6 840 kb/s
Width: 2 560 pixels
Height: 1 440 pixels
Display aspect ratio: 16:9
Frame rate mode: Variable
Frame rate: 24.438 FPS
Minimum frame rate: 11.905 FPS
Maximum frame rate: 40.000 FPS
Color space: YUV
Chroma subsampling: 4:2:0
Bit depth: 8 bits
Scan type: Progressive
Bits/(Pixel*Frame): 0.076
Stream size: 144 MiB (99%)
Source stream size: 144 MiB (99%)
Language: English
mdhd_Duration: 176957
Audio
ID: 2
Format: AAC
Format/Info: Advanced Audio Codec
Format profile: LC
Codec ID: 40
Duration: 2 min 56 s
Source duration: 2 min 57 s
Bit rate mode: Constant
Bit rate: 64.0 kb/s
Nominal bit rate: 127 kb/s
Channel(s): 1 channel
Channel positions: Front: C
Sampling rate: 16.0 kHz
Frame rate: 15.625 FPS (1024 SPF)
Compression mode: Lossy
Stream size: 1.35 MiB (1%)
Source stream size: 1.35 MiB (1%)
Language: English
mdhd_Duration: 176957
Камера также в полной мере поддерживает отправку тревожных сообщений на почту, на ftp сервер и в мобильное приложение. Работает со сторонним софтом.

Ну и для тех кто любит начинку, попробовал разобрать камеру, а потом собрать).
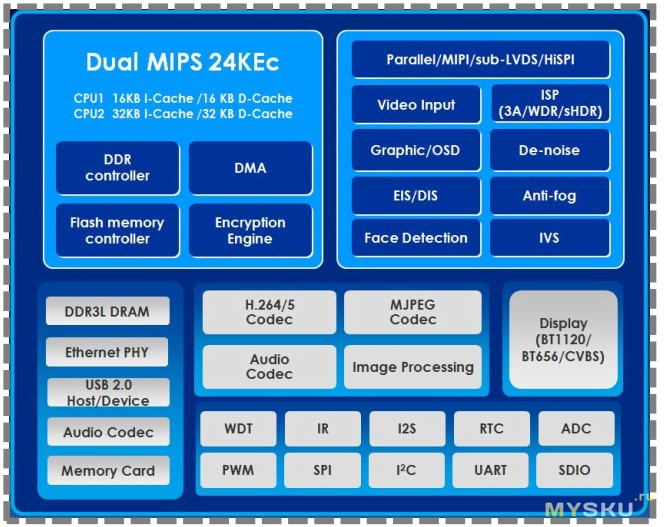
В качестве процессора используется довольно продвинутая SoC Novatek NT9851x.
За беспроводный интерфейс отвечает модуль atheros AR1021X, работающий на 2.4GHz и 5GHz.
Среди всего многообразия бэбикамов, камера от Reolink выделяется качественным исполнением, хорошим изображением и стабильной связью по wifi каналу. Также в достоинства можно записать очень тихий механизм поворота, его реально не слышно в работе. О нормальном софте для данных камер я уже неоднократно упоминал. Еще что понравилось в данной модели, это поддержка не только проприетарного облака, но и наличие ONVIF протокола, нормальный web интерфейс и как следствие возможность подключить камеру к DVR, если такое будет необходимо.Чего еще не хватает, так это поддержки POE, эту функцию производитель оставил только во внешних камерах наблюдения. Также при использовании функции двустороннего аудио, звук подлагивает, иногда на пару секунд. На этом я заканчиваю, спасибо за прочтение.
Товар для написания обзора предоставлен магазином. Обзор опубликован в соответствии с п.18 Правил сайта.
Suppose your Reolink client login failed when you tried to connect with your camera. That indicates some trouble in the network that is caused by a miss configuration or a firewall.
In this article, I explain the causes of such a problem and how to solve it.
The fail to login message
You can usually see a message like «login failed, connection failed or timeout» when trying to view the cameras via the Reolink client software.
If that’s the case, please follow these steps:
- Make sure you are using the correct password;
- Check if the computer’s firewall is not blocking the traffic ;
- Test the network connection between the devices;
- Double-check the camera IP address and UID
Let’s take a look at these steps…
Check the username and password
Most of the time, the login failed message is related to the use of the username and password. You must check if there are no wrong characters or spaces in the credentials you are trying to use to log in.

It’s very common to confuse the number «1» with the letter «l» or the number «0» (zero) with the letter «O» or type the wrong special character that demands the combination of the «shift key» and a number.
Passwords with extra spaces are also the cause of failed login attempts.
The firewall is blocking the traffic
The Reolink client login failed message is also very common when the computer’s firewall blocks the communication between the devices in the network.
During the installation, the firewall prompts a confirmation if you want to allow the software to communicate in the network, you must answer «Yes» to that.

If you forgot to allow access to the software, it’s necessary to open the firewall software to input this rule for the Reolink client software.
Here’s how to do that…
For Windows computers
Open the Windows Firewall and network protection, click on Allow an app through firewall and check if the Reolink Client is enabled.
Here are the steps for that…
Type «Firewall» on the Windows search box.
Click on «Firewall & network protection«

In the next screen click «Allow an app through firewall«.

Make sure the Reolink Client is checked for private access

And that’s should work to allow the camera and software communication.
For MAC computer
Go to System Performance >> Security&Privacy >> Firewall
Click on «Firewall Options«

Add the Reolink Client to the list.

And it’s done. Your Reolink camera can work with the Client software on the MAC.
Test the network connection
Another common issue related to the login failed message is the network setup.
Make you have the camera and the software connected to the same Wi-Fi router and the check if the IP addresses are in the same network range.
The picture below shows an example of a Reolink camera and a laptop connected to the same router on a local network.

The IP range must be the same to the computer/laptop can reach the camera.
Read the article Reolink client not finding camera in the network for more information on how to check the IP Addresses range.
Check the camera IP and UID
If the camera IP or the UID is not correct, you will see a message that indicated fails to connect. Make sure the information you enter during the setup is accurate.
Depending on the camera model you either use the IP or UID.
The picture below show the UID for a Reolink Argus PT camera.

Usually, the UID is accurate when you use the software to scan the LAN, but if you type it manually, it’s better to double-check if it’s correct.
Related articles
Here are some related articles about the Reolink cameras:
Conclusion
It’s common to face login failed messages when dealing with devices that communicate via a network. You just need to keep calm and try to find the problem by following the instruction in this article.
I hope you can solve your problem with Reolink login failed.
Please share this information with your friends.