Learn how to quickly resolve scratch disk full error in Photoshop.
If you encounter a ‘Scratch disk full’ error, it often means that your hard drive (or drives) used as scratch disk is (are) running out of storage space required to perform a task.
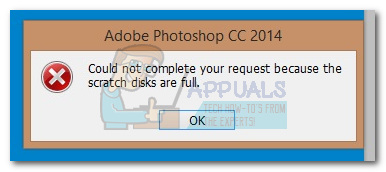
Issue: ‘scratch disks are full’ error
Solution
To troubleshoot scratch disk full errors, do one or more actions listed below:
Free up additional disk space
It’s recommended to have 50 GB of free space on your OS hard drive while working with Photoshop. Additional free space may be required based on the file type you’re working with. For details, see Photoshop’s system requirements.
Free up additional hard drive space by deleting unnecessary files from the scratch disk, or by moving your files off the scratch disk to another storage location.
For example, if your assigned scratch disk on your Windows machine is drive C:, you can simply clean up and delete the files you no longer need. You can also move your files to a new location on your machine, let’s say drive D:. This will clear some space on your drive C: and you can continue using it as your scratch disk.
Similarly, if your assigned scratch disk on your macOS machine is Macintosh HD, you can simply clean up and delete the files you no longer need. You can also move your files to an external drive, if required.
Specify appropriate drives for scratch disk
By default, Photoshop uses your internal OS drive as the scratch disk. If you have more than one drive or partition, make sure to select the fastest drives with maximum free space as your scratch disk(s). You can also resolve a ‘scratch disk full’ condition by selecting additional drives for use as scratch disks.
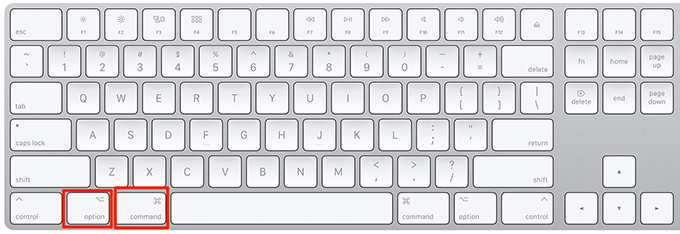
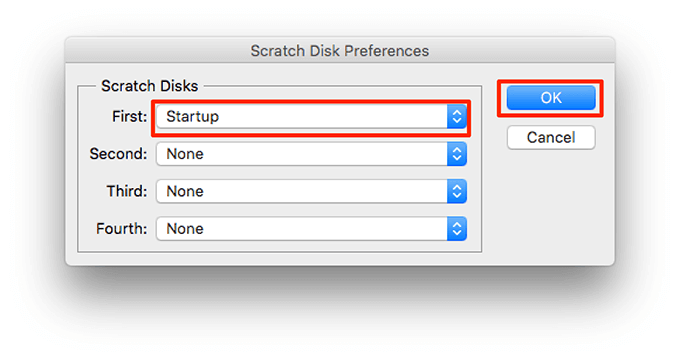
Hold down the Cmd + Option keys (macOS) or Ctrl + Alt keys (Windows) during app launch and set a new scratch disk for your system under the Scratch Disk Preferences dialog that opens.
Supported drive formats for Scratch Disks
- macOS: APFS, macOS extended (Journaled)
- Windows: NTFS, exFAT, FAT32
Set correct units while creating or resizing your document
Sometimes you might get the ‘scratch disk full’ error due to discrepancies in the document units. To avoid such instances, set correct units while creating or resizing your document Also, check your unit settings while you’re cropping your documents or adjusting the canvas size.
Optimize the space Photoshop uses
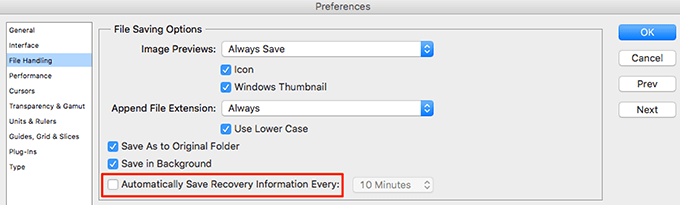
- Disable auto-recovery saving: You can reduce the size of Photoshop’s temporary file (scratch) at the risk of having no auto-recovery by disabling the ‘Automatically Save Recovery Information’ option: Edit (Win) / Photoshop (Mac) > Preferences > File Handling > Automatically Save Recovery Information Every [N Minutes].
- Limit history states: Photoshop can save up to 1,000 history states; the default number is 50. To reduce that number, go to the Performance preference dialog. In the History & Cache section, set the the number of History States to a lower value.
To learn more about how to fine-tune Photoshop features for optimized performance, see Optimize Photoshop Performance.
Reset Photoshop preferences
On rare occasions when Photoshop or the system crashes, Photoshop’s preference file can get corrupted and this can affect Photoshop’s handling of scratch disks. Resetting Photoshop’s preferences and then reconfiguring the scratch disk preferences may help resolve ‘scratch disk full’ errors.
To learn more, see Reset preferences in Photoshop.
![]()

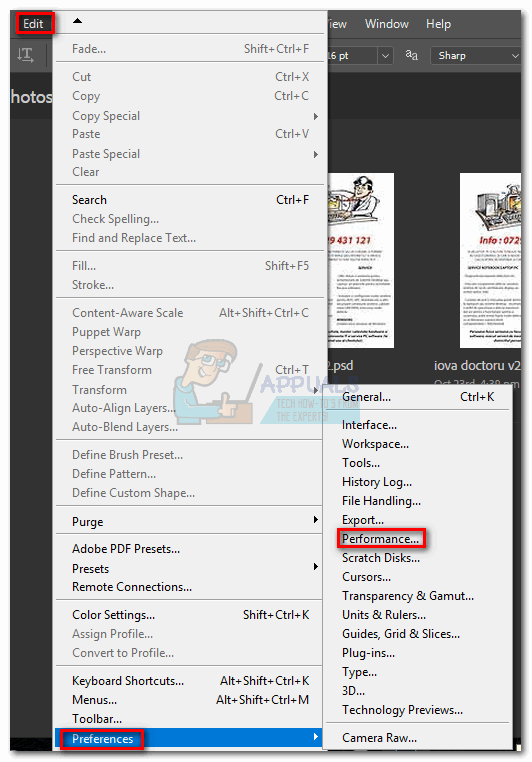
Данная ошибка была описана и разобрана в предыдущей статье (из-за чего она возникает и способы её устранения). В данной статье мы разберем, как в корне (навсегда) избавиться от этой ошибки. Итак, начнем, запускаем фотошоп, если при запуске ошибка — чистим локальный диск. Затем выбираем “Edit (Редактирование)>>>Preferences (Установки)>>>General…(Основные…)” или (Ctrl+K).

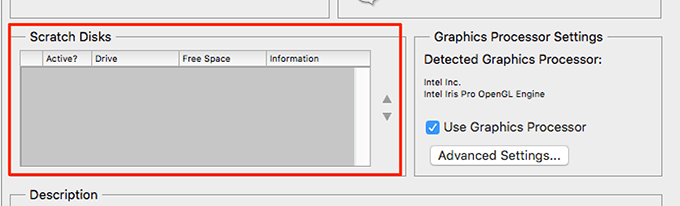
В появившемся окне переходим во вкладку “Performance (Выполнение)” и дополнительно ставим галочку (в колонке “Active?”(Активный?)) напротив одного или нескольких локальных дисков, для того, чтобы фотошоп для временных файлов использовал не только место локального диска (на котором установлена программа), но и другие. Колонка “Free Space (Свободное место)” проинформирует Вас о свободном пространстве на каждом из локальных дисков.

В случае если у Вас все локальные диски забиты под завязку и это не помогло, единственный выход — освобождать место на локальных дисках. По крайней мере не на системном диске это сделать проще и безопаснее, нежели на нем.
Скажи СПАСИБО — этим ТЫ отблагодаришь автора!
Photoshop is an incredibly powerful application. Even if you’re a die-hard fan of Corel Draw, you’ll probably admit that some Photoshop features are simply superior. But while the UI of Photoshop is overly intuitive, the same cannot be said about dealing with Photoshop errors.
By far, the most common Photoshop error is “scratch disk is full“. Some users get it when they try to start Photoshop, others when trying to complete a certain action. But why does this happen and how can we fix this issue?
What causes the Scratch Disk Error?
Before we get to the potential fixes that will remove photoshop scratch disk full error, it’s important to understand what a scratch disk actually is.
All Adobe programs like Photoshop or After Effects need a working space to store temporary project files. If Photoshop, (or another program) doesn’t have enough RAM memory to store something temporarily, it uses hard drive space as a temporary virtual memory holder. This hard drive space is referred to as a scratch disk.
Photoshop is more than capable of creating a mountain of temp files if you’re working with large elements, so don’t be quick to put the blame on your computer. If both the RAM and the scratch disk become full with temporary files, you will get a “Scratch Disk is full” error which might also prevent you from creating new files.
If you get “scratch disk is full” errors when you start Photoshop or when performing certain actions, there are a few potential fixes that proved to be effective. Below you have a collection of methods that proved to be effective in removing the “scratch disk is full” error. Please follow each guide in order until you find a fix that works in your situation.
Before You Continue: Make sure that you don’t set the blank page/image resolution to something unreasonable like 1920×1080 inches. Sometimes users confuse inches and pixels and set the resolution in inches instead of setting it in pixels which is a very unreasonable length. Make sure to set the resolution in pixels and not in inches.
1. Free up enough disk space
Before you do anything else, make sure that you have enough space in the drive partition where the scratch disk is located. The most common cause of the “scratch disk is full” error is the lack of free space in the drive that accommodates the scratch disk. If you don’t set it yourself, the C:/ drive is automatically chosen to serve as a scratch disk. If you’re unsure which drive is used as a scratch disk, open Photoshop and go to Edit > Preferences >Scratch disks.
Once you’re into the Preferences menu, confirm which storage drives serve as a scratch disk and make sure it has at least 40 GB of free space. If it doesn’t, access your drive and start removing unwanted files until you free enough space.

2. Delete temporary files
If you have the habit of force-closing Photoshop without giving it enough time to properly close down projects, it will leave a large chunk of temporary files behind. If you do this enough times, your temp folder will become full of Photoshop related files.
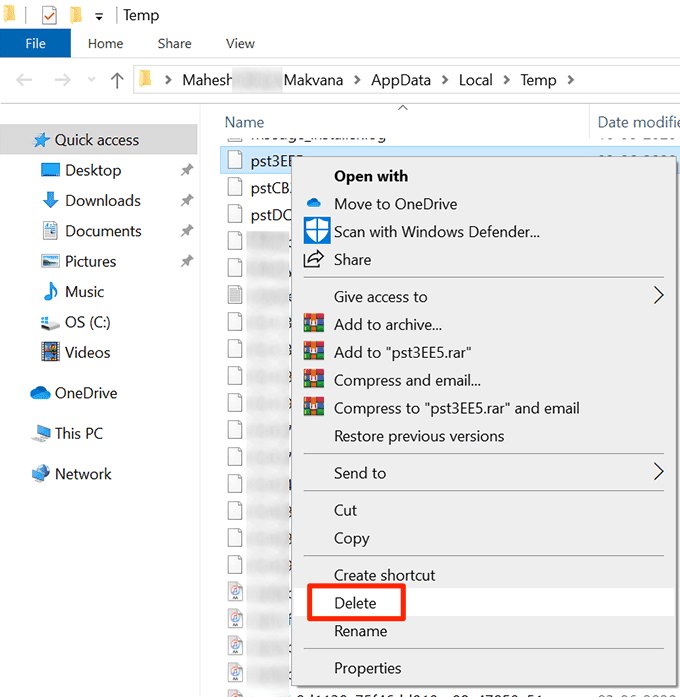
The good news is, Photoshop files can be easily identified and deleted. Usually, their name starts with ~PST or Photoshop Temp (in newer versions). You can delete them safely without any risk of affecting your system. Your temp folder is located in C:/ > Users > “YourUser” > AppData > Local > Temp.

3. Changing the scratch disk location
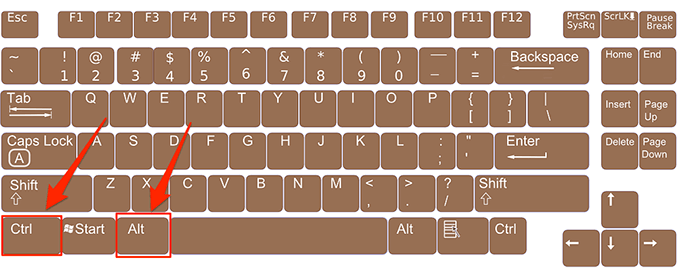
In the event that your photoshop shows you, the “scratch disk is full” error before you manage to get into the settings, there’s a neat shortcut that you can use to change Scratch Disk Preferences. To use it, launch Photoshop and as soon as the window pops up press and hold CTRL + Alt or press Cmd + OPT on a Mac. You will shortly see a Scratch Disk Preferences menu.

Select another partition from the drop-down menu near First and hit Ok. Your Photoshop should know restart without showing the “scratch disk is full” error.
4. Increasing the RAM allowed by Photoshop
Another fix that might make the error message go away is to allow Photoshop more RAM. By default, Photoshop is programmed to draw 60% of your total RAM, but you can make it use even more. Here’s how:
- Open Photoshop and go to Edit > Preferences and click on Performance.

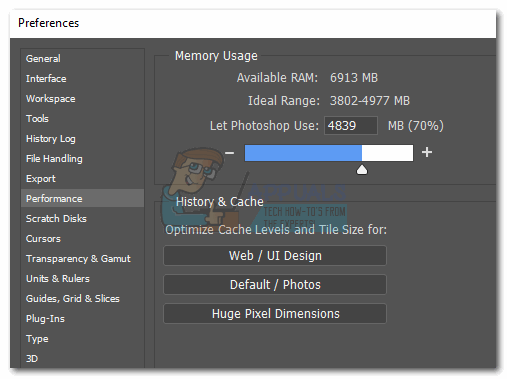
- Once you’re in the performance menu, adjust the sliders in Memory Usage to increase the RAM memory that Photoshop is allowed to access. Do not set it about the 80% threshold, as it can make your PC run slower.
5. Adjusting your scratch disks
Experienced “photoshopers” will sometimes set up a dedicated hard drive partition specifically to prevent an issue like this from happening. Although Photoshop is capable of functioning perfectly well with the default scratch disk configuration, you might get rid of the error by allowing Photoshop to use other partitions.
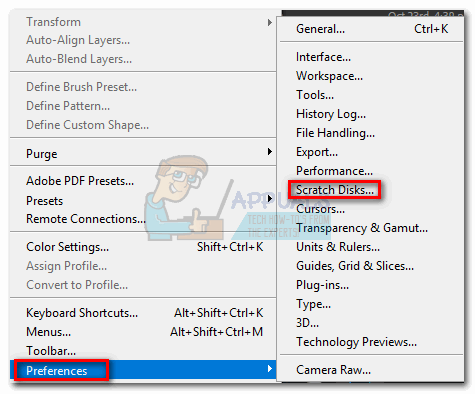
By default, only your C:/ drive is selected to serve as a scratch disk, but you can allow all your partitions to share this burden. To do this, go to Edit > Preferences and click on Scratch Disks.
Once you reach the Scratch Disks tab, check the box near each partition to enable them as scratch disks. Then click Ok and restart Photoshop.

6. Purging Cache
While working on projects you might have added a lot of layers to an image or done a lot of editing, as we all know you can easily undo your previous steps and experiment with the image. But the storage of these steps that you perform takes up a lot of space on the scratch disks and if you are working with a huge project these steps can take up gigabytes of space. Therefore, in this step, we will be purging this cache but keep in mind that the undo steps will be gone and you won’t be able to revert back to an older version of the image. In order to do that, follow the steps below.
- Open the Photoshop window in which you are currently working.
- In the top tray, click on the “Edit” option and select the “Purge” button.

Clicking on the “Purge” button - There are a couple of options here. These are explained as follows.
Undo: Clears the record of your changes and by deleting you won't be able to undo your changes.
Clipboard: Clears the clipboard of the things that you might have copied. You won't be able to paste anything that you have copied so far if you clear this.
History: Deletes the history of your changes to the image. The changes stay but you won't be able to lookup the changes that you have made to an image.
All: Deletes all cache.
Video Cache: Deletes all video cache that you might have in store. Deleting this won't allow you to revert changes made to a video.
- Click on the option which you want to clear and confirm the warning prompt.
- Check to see if the issue persists.
7. Creating Partition for Scratch Disks
Creating a partition has also been reported by users as a possible workaround. Please follow this method only if you are already familiar with the functioning of disk management. Incorrectly, removing or creating a partition may result in data loss.
1. Open Run by Pressing the “Windows + R” keys together.
2. Once Run is opened type “diskmgmt.msc” and press enter.
3. Now select a disk that you were using as a Scratch Disk before. Right-click on it and press Shrink Volume.
4. Now Select the Size you want your Scratch Disk to be.
5. After creating a new partition, Open Photoshop and press “CTRL + ALT” then select the new Partition you just created.
Troubleshooting steps and fast fixes to free up space for photo editing
Updated on January 22, 2022
Sometimes when you try to perform an action in Adobe Photoshop, you might get an error message that reads, «Could not complete your request because the scratch disk is full.»
To prevent the Photoshop scratch disk is full error, you need to change how Photoshop uses your computer’s memory.
Information in this article applies to Adobe Photoshop CC for Windows and macOS.
What Causes the Photoshop Scratch Disk Is Full Error?
The Photoshop scratch disk refers to your hard drive. Photoshop uses the hard drive as temporary swap space, or virtual memory, when your system doesn’t have enough RAM to perform an operation. If you only have one hard drive or partition in your computer, the scratch disk is the drive where the operating system is installed (for example, the C: drive on a Windows system).
When that drive runs out of space, it prevents Photoshop from working properly. For example, if Photoshop crashes in the middle of an editing session, this improper shutdown may leave large temporary files on the scratch disk. Consequently, Photoshop may not be able to reopen, so you must perform some troubleshooting on the hard drive.
For more on how Photoshop CC uses RAM and scratch disk space, search for assigning scratch disks in the online help for your version of Photoshop.
How to Fix the Photoshop Scratch Disk Full Error
Follow these steps in the order presented to troubleshoot the scratch disk is full error in Photoshop:
-
Free up disk space. Clear some space on the Mac or Windows drive that is defined as the scratch disk in Photoshop Preferences. For best results, use a free disk space analyzer tool like Disk Cleanup.
-
Delete Photoshop temporary files. You can safely delete temporary files associated with Photoshop to free up scratch disk space. Photoshop temp files are typically named ~PST####.tmp on Windows and Temp#### on Mac (where #### is a series of numbers).
-
Defragment the hard disk. It’s possible to get the scratch disk is full error when the scratch disk drive has free space. This is because Photoshop requires contiguous, unfragmented free space on the scratch disk drive. If you get the error message when the scratch disk drive shows a good amount of free space, run a disk defragmentation utility.
-
Clear the Photoshop cache. If you can open Photoshop, delete temporary files from within the program by going to Edit > Purge > All (on Windows) or Photoshop CC > Purge > All (on Mac).
Purging the cache prevents you from undoing recent changes you made to images.
-
Clear Crop tool values. If you get the error when cropping an image in Photoshop, it could be because the values in the options bar for the Crop tool are in the wrong units. For example, entering dimensions of 1200×1600 when the units are set to inches instead of pixels creates a large file that could trigger the scratch disk is full message. To prevent this problem, select Clear in the options bar after you select the Crop tool.
-
Change the Photoshop performance settings. Go to Edit > Preferences > Performance (on Windows) or Photoshop CC > Preferences > Performance (on Mac), then adjust the sliders under Memory Usage to increase the amount of RAM that Photoshop is allowed to utilize.
Setting the memory usage above 80% can cause the computer to run slow.
-
Change or add additional scratch disks. If possible, create a new hard drive partition for the Photoshop scratch disk. Although Photoshop functions with a single scratch disk on the system partition, you can improve performance by setting the scratch disk to be the fastest drive in your system.
To change the scratch disk location and establish additional scratch disks from Photoshop Preferences:
- On Windows, select Edit > Preferences > Scratch Disks, or press Ctrl+Alt.
- On macOS, select Photoshop CC > Preferences > Scratch Disks, or press Command+Option.
If your computer has a fast solid-state disk drive (SSD), use the SSD as the scratch disk. Don’t use the same hard disk drive (HDD) where the operating system is installed or where the files you edit are stored. Also, don’t use a network or removable drive.
FAQ
-
How do I remove a background from a photo in Photoshop?
To remove the background, first, unlock the primary layer of the image. Use the Magic Wand, Lasso, or Quick Mask tool to select the background > Delete. Or use Magic Eraser to remove large sections of the background with a similar color or use Background Eraser to manually remove the background.
-
How do I resize an image in Photoshop?
The easiest way to resize an image is to go to Image > Image Size and enter your desired dimensions. Or select the image layer then press Ctrl/Command+T and drag the handles to resize. You can also crop your image by dragging the Crop tool and pressing Enter to remove unwanted space.
Thanks for letting us know!
Get the Latest Tech News Delivered Every Day
Subscribe
The “scratch disks are full” error in Photoshop usually occurs when there’s no memory space available on your computer to store Photoshop’s temporary files. When this error comes up, Photoshop either crashes or does not load at all.
There are a few things you can do to fix this “scratch disks are full” error in Photoshop. This includes letting Photoshop use more RAM and deleting the temporary files to regain your memory space.
If you’d prefer to watch a video, check out our YouTube channel where we made a short walk-through video showing some of the fixes mentioned below in our article.
Free-Up Memory Space On Your Computer
When the above error happens, the first thing to do is clear all the junk files from your computer. This’ll free-up your memory space that Photoshop can then use to store temporary files.
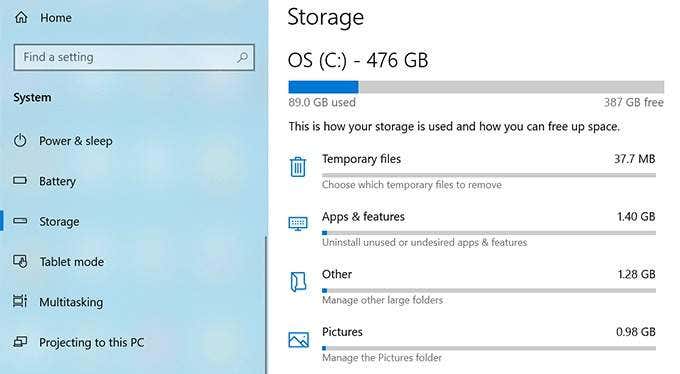
Check Your Storage On Windows
- Open the Settings app.
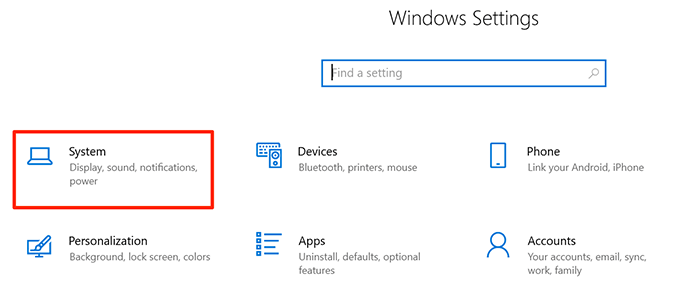
- Click System on the following screen.
- Select Storage to view your computer’s storage details.
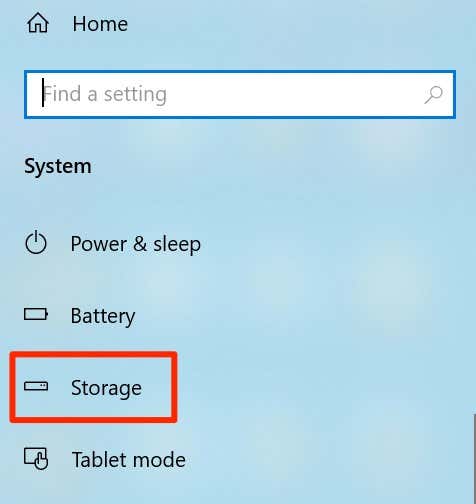
- You’ll see what’s occupying what amount of memory. This’ll help you decide what to delete.
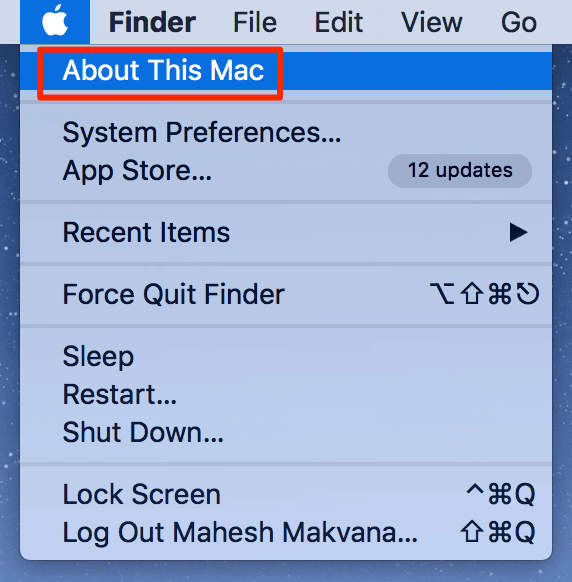
Check Your Storage On Mac
- Click the Apple logo at the top-left corner and choose About This Mac.
- Click Storage at the top and choose Manage.
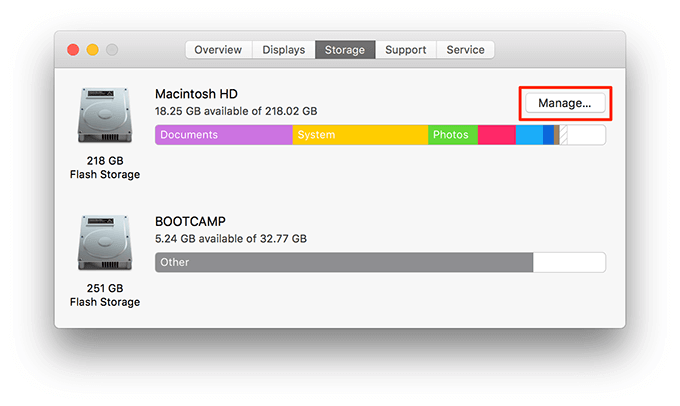
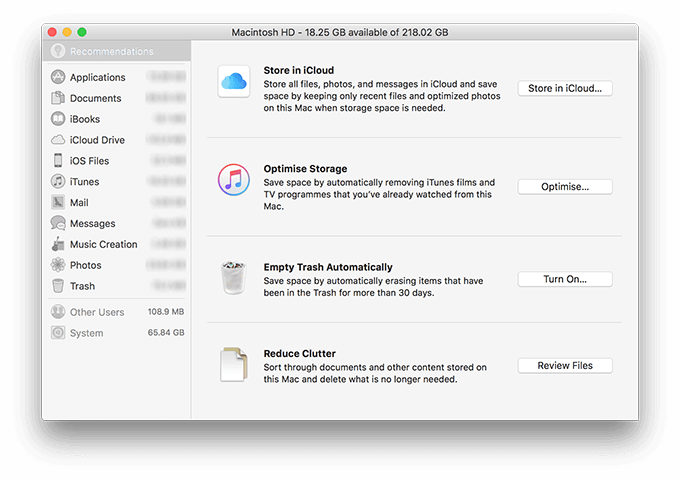
- It’ll show what content is using what amount of space as well as offer recommendations to free-up memory.
Delete Photoshop Temporary Files
Photoshop creates and stores temporary files on your storage. These files can be safely deleted after you’ve closed Photoshop. This helps you regain some of your memory space.
- Press the Windows + R keys at the same time to open Run, type the following into it, and press Enter.
%temp%
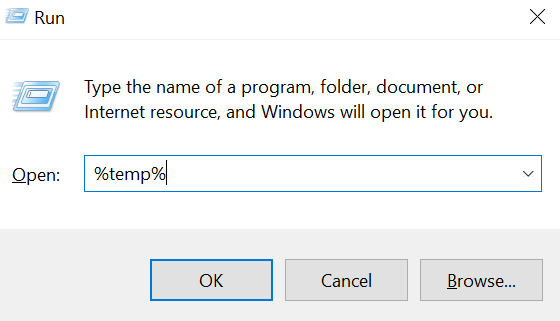
- When the temporary folder opens, find the files named Photoshop or PST.
- Right-click those files and select Delete.
- Right-click the Recycle Bin on your desktop and select Empty Recycle Bin.
- On Mac, use Spotlight to search for temporary files and delete them.
Change The Scratch Disk On Startup
If you have assigned multiple scratch disks to Photoshop, you can actually switch between them on Photoshop’s startup. This solution works great when Photoshop doesn’t open as a result of the “scratch disks are full” error.
- On Windows, launch Photoshop and press and hold down the Ctrl and Alt keys at the same time.
- On Mac, open Photoshop and press and hold down the Command and Option keys simultaneously.
- Select a new scratch disk from the Startup dropdown menu and click OK.
Change The Scratch Disk Drive In Photoshop
By default, Photoshop only uses your operating system’s drive as the scratch disk. If you have multiple drives or partitions, you can get Photoshop to use them and avoid the “scratch disks are full” error.
- Launch Photoshop on your computer.

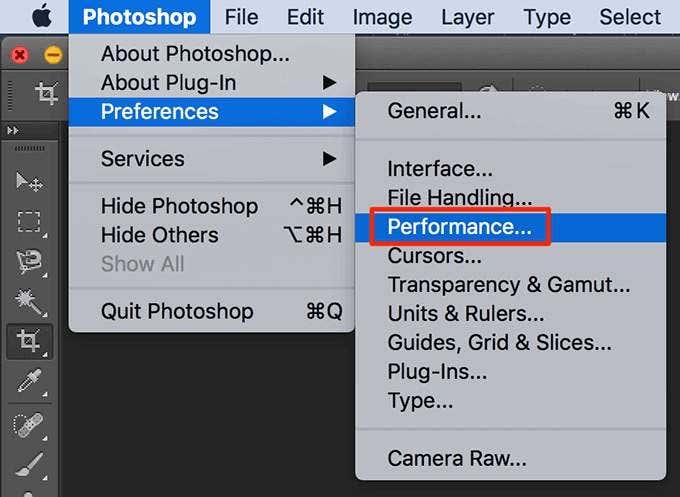
- Click the Photoshop menu at the top, select Preferences, and choose Performance.

- Enable and disable scratch disks in the Scratch Disks section.
Disable The Auto Recovery Feature In Photoshop
Photoshop automatically saves your files as you work on them but this increases the amount of memory it uses on your computer. If auto-recovery saving isn’t much use to you, you can disable it to save some space on your scratch disks.
- Launch Photoshop on your machine.
- Click Photoshop at the top, select Preferences, and choose File Handling.
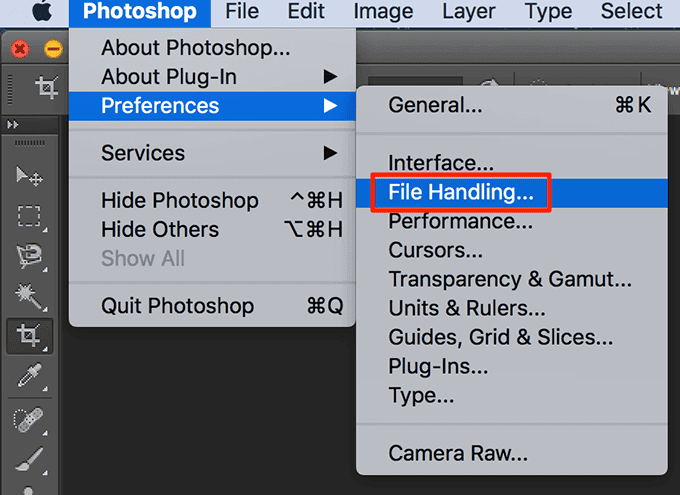
- Untick the box that says Automatically Save Recovery Information Every.
Let Photoshop Use More RAM
One way to fix the scratch disk issues with Photoshop is to allow Photoshop to use more RAM. This’ll let it store more temporary files on the RAM space on your scratch disks.
- Open Photoshop on your computer.
- Click the Photoshop option at the top, select Preferences, and choose Performance.
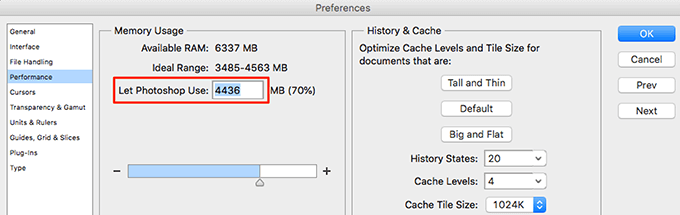
- On the right-hand side pane, you’ll see a box labeled as Let Photoshop Use. In the box next to this option, enter the amount of RAM that you want for Photoshop to use. Then click OK.
Delete The Photoshop Cache Files
Each time you make a change to an image in Photoshop, an older unchanged version of your image is saved as a cache file on your computer. These files eventually grow and start taking too much of your memory space.
You can clear these cache files to possibly fix the scratch disks error but at the cost of not being able to revert changes for your image.
- Access Photoshop on your machine.
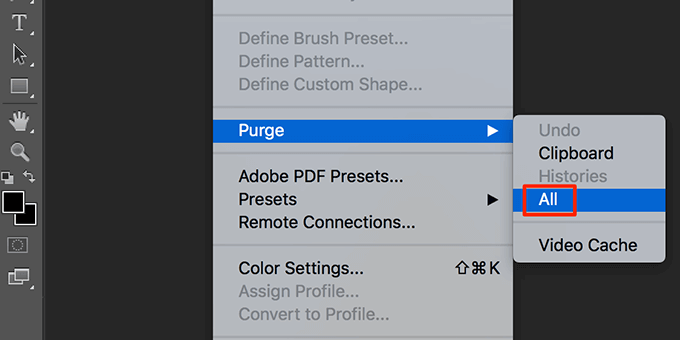
- Click the Edit menu at the top, select Purge, and choose All. This’ll delete all the Photoshop cache files.
Reset The Values For Crop Tool
The crop tool in Photoshop lets you crop your photos by your specified size. If you choose the wrong units while specifying the size, say choosing centimeters instead of pixels, you end-up making your image extremely large.
That image occupies a large amount of memory space which causes the “scratch disks are full” error in Photoshop.
- Access the crop tool in Photoshop and remove any values from the given boxes.
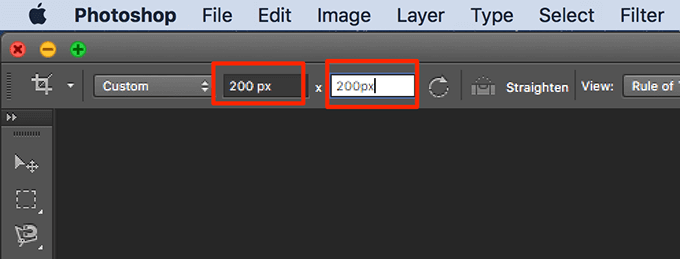
- When you enter any values, use pixels as the unit whenever possible.
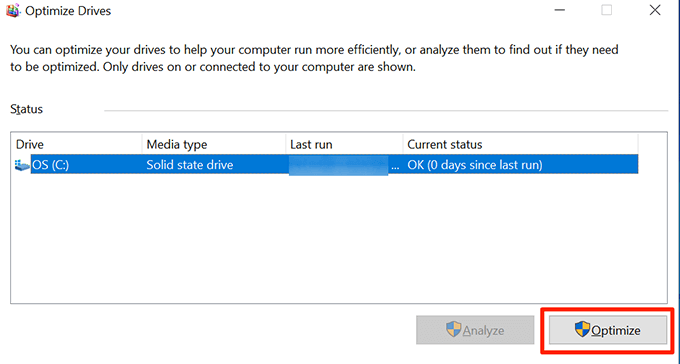
Defrag Your Hard Drive
It’s worth defragging your scratch disk drive in Windows to get some continuous memory space for Photoshop to use. This should help you get rid of the scratch disks error in the app.
- Search for Defrag in the Start Menu search and click Defragment and Optimize Drives.
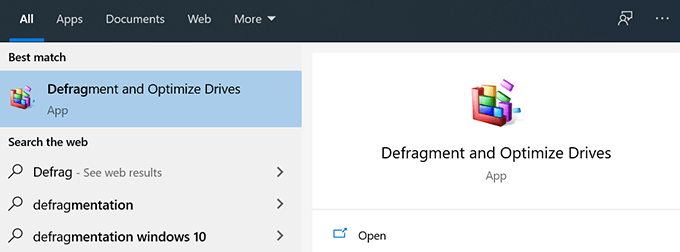
- You’ll see your hard drive partitions listed on the following screen. Select the one that you use as your scratch disk and click the Optimize button.
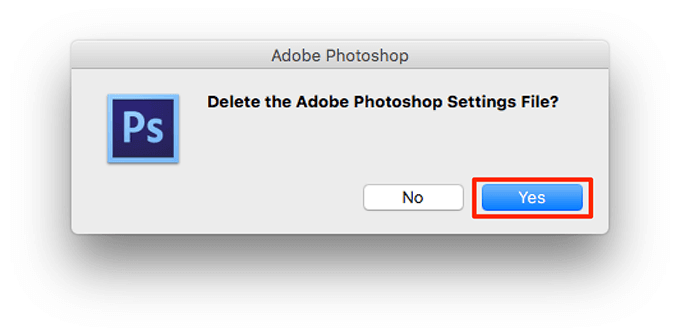
Reset Photoshop Preferences
If you’ve made loads of changes to your Photoshop preferences, one or many of those tweaked options may be causing the issue. Resetting the Photoshop preferences to the defaults should fix this for you.
- Quit Photoshop on your computer.

- Press and hold down the Shift + Ctrl + Alt (Windows) or Shift + Command + Option (Mac) and launch Photoshop.
- You’ll get a prompt asking if you want to delete the Photoshop settings file. Click Yes to delete the files.
How did you fix the “scratch disks are full” error in Photoshop? Let us and our readers know in the comments below.